I. Bike Conversion Kits


A What is an Electric Bike Conversion Kits?
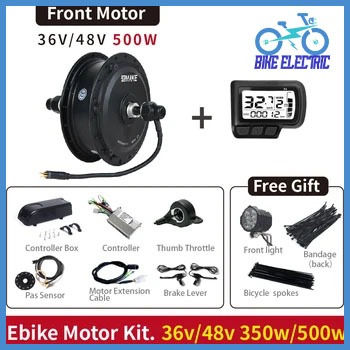
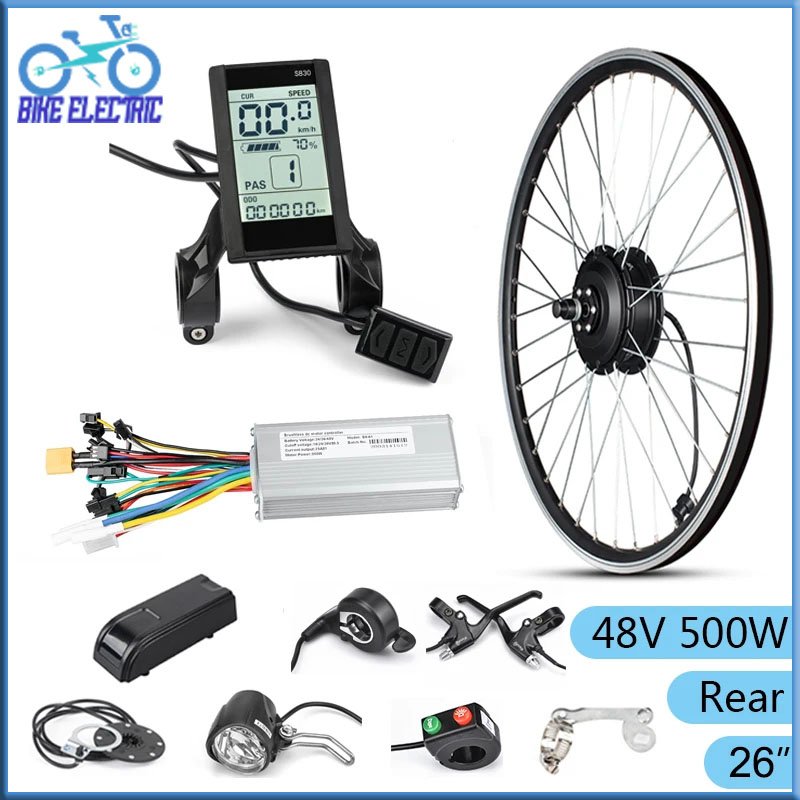
So, you’ve got a trusty old bicycle gathering dust in the garage, and you’ve been eyeing electric bikes but are put off by the hefty price tag? Enter the electric bike conversion kit! These nifty little kits allow you to transform your traditional bike into a zippy e-bike. Typically, they come with all the essential you’ll need to get your bike juiced up, like a motor, battery, controller, and sometimes, even a throttle.
B. Types of Electric Bike Conversion Kits
There are mainly three types of electric bike conversion kits, so it’s good to know your options before diving in:
-
- Hub Motor Kits: These are the most popular and easiest to install. The motor is located in the wheel hub, so they’re fairly simple to set up on most bikes.
-
- Mid-Drive Kits: These motors are positioned at the bike’s crank, which can offer better performance on hilly terrains. However, they usually require a bit more mechanical know-how for installation.
-
- Frankenstein Kits: For the adventurous types, these kits allow you to mix and match components. They’re a bit more hands-on, which means you’ll need a good grasp of bike mechanics and electronics.
C. Benefits of Converting Your Traditional Bike
Why should you consider converting your ebike? Here are some key perks:
-
- Cost-Effective: You save a bundle compared to buying a brand-new electric bike.
-
- Customization: You can choose the motor size and battery strength to perfectly match your riding style.
-
- Eco-Friendly: It’s a more sustainable option, especially if you’ve got an old ebike lying around instead of letting it end up in a landfill.
II. Choosing the Right Conversion KitS
A. Key Features to Consider
When you’re on the hunt for the right electric bike conversion kits, keep these features in mind:
-
- Power Rating: Typically measured in watts, this indicates how much power the motor can produce. Higher wattage equals more speed and hill-climbing ability.
-
- Battery Capacity: Measured in amp-hours (Ah), it determines how far you can ride before needing a recharge.
-
- Compatibility & Legal Compliance: Make sure the kit suits your bike’s frame and local e-bike regulations.
B. Compatibility with Your Bicycle
Before you hit that “buy” button, check if the conversion kit is compatible with your bike. Consider:
-
- Frame Size: Not every kit fits every bike, so double-check the specifications.
-
- Wheel Size: Your bike wheels can vary – a standard kit may not suit a 29-inch wheel.
-
- Brake System: Ensure your brakes can handle the added weight and speed of an e-bike.
C. Popular Brands and Models
Some brands stand out when it comes to reliability and quality:
-
- Bafang: Known for powerful mid-drive kits, perfect for those looking for serious performance.
-
- Rad Power Bikes: Great options for hub motor kits that are user-friendly.
-
- Voilamart: Wallet-friendly kits with solid performance ratings.
III. Installation Process
A. Tools and Equipment Needed
Ready to roll up those sleeves? You’ll need a few tools for the installation:
-
- Basic bike tools (wrenches, screwdrivers)
-
- Allen keys
-
- Wire cutters and strippers
-
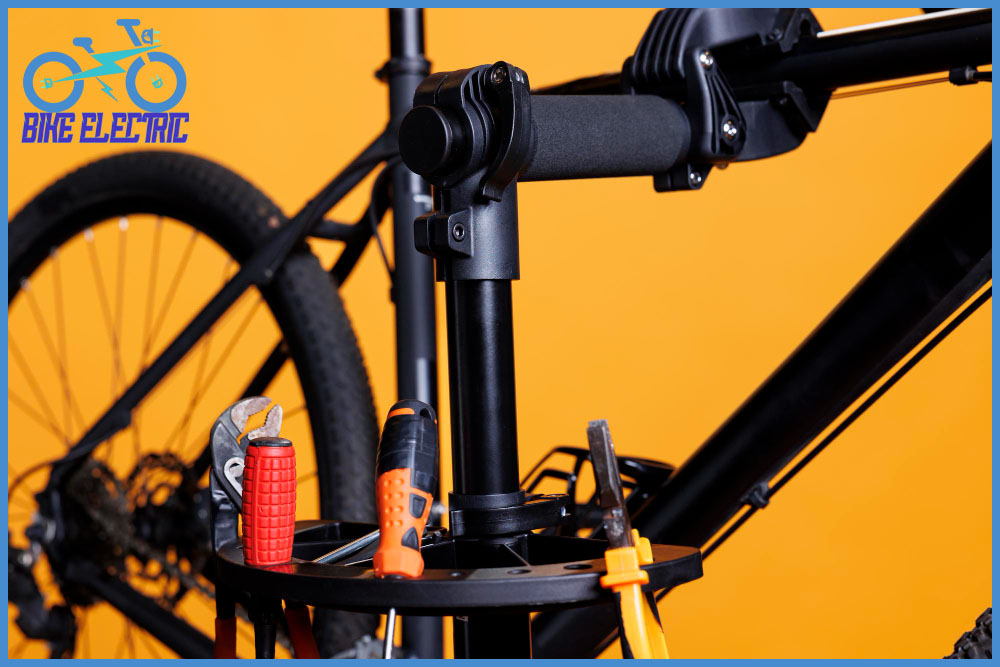
- A bike stand (optional but super handy!)
B. Step-by-Step Installation Guide
Here’s a simple breakdown of the installation process:
-
- Remove the Wheel: If you’re using a hub motor, take off the wheel where the motor will go.
-
- Install the Motor: Follow the kit’s instructions to attach the motor to the wheel.
-
- Replace the Wheel: Put the wheel back on the bike and secure it.
-
- Attach the Battery: Usually, this goes on the frame. Make sure it’s secure!
-
- Run the Wiring: Tuck away cables neatly along the bike frame to avoid snagging.
-
- Final Checks: Ensure everything is tight and properly aligned.
-
- Test Ride: Before going all out, take it for a quick spin to check performance.
C. Common Installation Mistakes to Avoid
Don’t be that person who rushes through installation! Here are a few things to watch out for:
-
- Neglecting Compatibility: Ensure all parts fit your bicycle frame and wheel size.
-
- Ignoring Safety: Make sure brakes and other components are up to standard.
-
- Poor Wiring: Tidy up those cables to prevent cuts or snags during rides.
IV. Maintenance and Care
A. Regular Maintenance Tips
To keep your newly converted bike running smoothly, follow these tips:
-
- Check Battery Health: Regularly examine the battery for signs of wear or damage.
-
- Monitor Tire Pressure: E-bikes can be heavier, so keeping tires properly inflated is crucial.
-
- Inspect Wiring: Look for any fraying or loose connections, especially before longer rides.
B. Troubleshooting Common Issues
Even the best conversions can run into hiccups. Here’s what to do:
-
- Motor Not Running: Check connections and battery level first.
-
- Battery Draining Too Quick: This could be a sign of overuse or a failing battery.
-
- Strange Noises: Listen for any odd sounds; something might need adjusting!
C. Upgrading Components for Improved Performance
If you’re like me, you’ll want to squeeze out that last bit of performance. Consider upgrading:
-
- Battery: Swapping for a higher capacity for longer distances.
-
- Brakes: Hydraulic brakes can be a game-changer, especially for heavier e-bikes.
-
- Controller: Boosting the controller may give you more speed options.
V. Legal Considerations
A. Local Laws and Regulations
Before you hit the road, check local laws. Some places require registration or impose speed limits on e-bikes.
B. Understanding Classifications of E-Bikes
E-bikes are usually classified into three categories:
-
- Class 1: Pedal-assist only, no throttle with a max speed of 20 mph.
-
- Class 2: Throttle-assisted, also capped at 20 mph.
-
- Class 3: Fast pedal-assist, reaching up to 28 mph—often requires a license.
C. Insurance and Registration Requirements
Insurance may not be mandatory, but it’s a smart move. Some regions also require registration for more powerful e-bikes. Check with local authorities for guidance.
Conclusion
Electric bike conversion kits can bring incredible joy and utility to your rides. By upgrading your traditional bike, you enjoy more speed, longer rides, and an eco-friendly travel option. Just remember to choose the right kit, install safely, and maintain your bicycle for a fun and hassle-free experience. Embrace the future of cycling—your upgraded rides await!
FAQs
What is the average cost of an electric bike conversion kit?Prices can range from $300 to $1,200 depending on the quality and power of the kit.
How long does it take to install a conversion kit?Installation usually takes about 2 to 4 hours, depending on your experience.
Can I convert any bike into an electric bike?Most bikes can be converted, but check compatibility with the kit first!
What are the limitations of electric bike conversion kits?Expect some limitations on speed, range, and battery life based on your kit.
Do I need special equipment for maintenance?Basic bike maintenance tools are usually sufficient, though a multimeter can help with battery checks.
Title: The Ultimate Comprehensive Guide to Electric Bike Conversion Kits
Installation
usually takes about 2 to 4 hours, depending on your experience. Most bikes can be converted, but check compatibility with the kit first! Expect some limitations on speed, range, and battery life based on your kit. Basic bike maintenance tools are usually sufficient, though a multimeter can help with battery checks.


10 thoughts on “best 1 Comprehensive Guide to Electric Bike Conversion Kits”